
I discovered my love affair with tams/berets last year when I made the brambles hat for the first time. I have since made several. It is still one of my favorite patterns. It works up quick and has great interest between seed stitch sections and cables. It keeps my attention and makes me go, “maybe I’ll just knit one more row.” Those famous last words are my mantra when knitting hats.
I also usually knit the brambles hat US #6 circs which is my favorite size. So now you all know that my emotions on tams are borderline obsessive you will not be shocked that I wrote a colorwork chart for a new one.
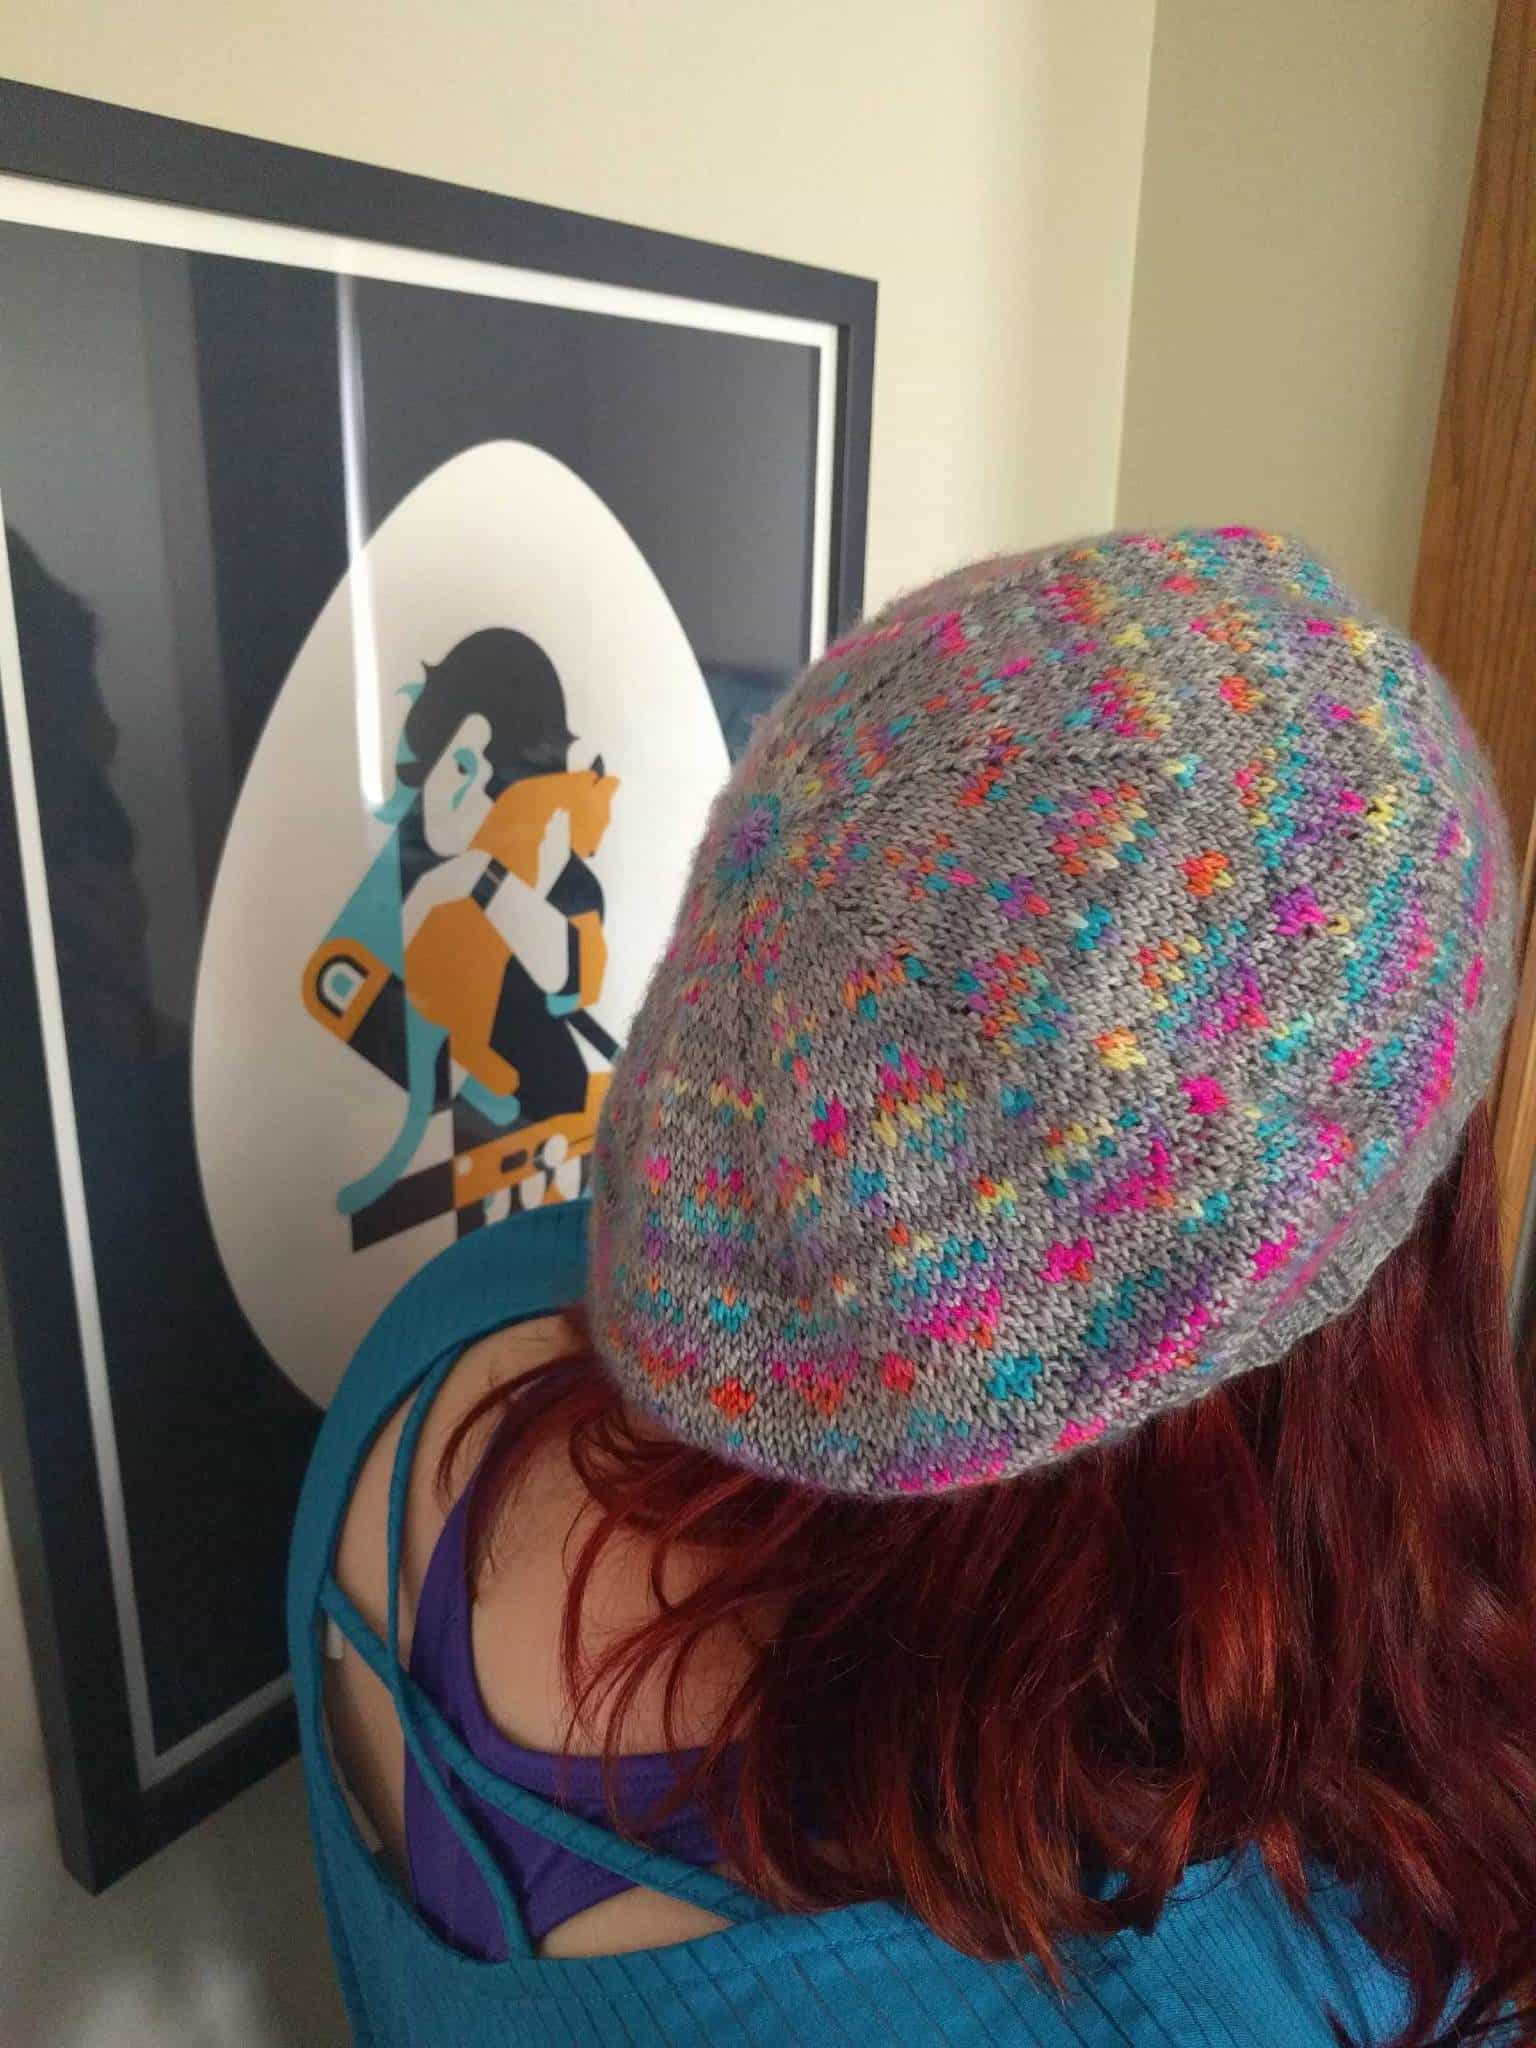
I found some stunning rainbow sock yarn a couple of weeks ago at Yarnify in chicago. It is Manos Del Uruguay Alegria in the Locura Fluo colorway. I immediately thought “you want to be a colorwork hat” and so it began. I went home and started looking on ravelry. Nothing quite spoke to me so I moved onto pinterest and I ended up on my weaving boards and picked a stitch pattern. I went on ravelry and looked at a bunch of beret patterns for different sizes and stitch counts. I finally came up with the size I wanted to use.
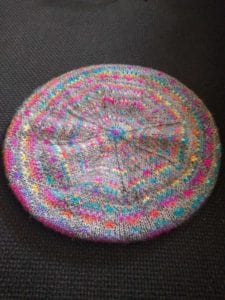 I sketched it out on graph paper and showed it to my fiance and he said “that’s cool but I could make it better”. So fifteen minutes after much arguing and many scrapped ideas we finalized a chart. He is not a knitter but he is very good with patterns especially in 3 dimensions. I am not that great with the 3 dimensional part. Even though I went to engineering school, I’m a very linear person. So he gets major credit for making the pattern work inside the hat decreases. I knit it 8 sided tams, I think they look cleaner and block easier.
- It doesn’t really matter what yarn you use as long as you stick with a nice neutral that doesn’t interfere with your rainbow skein.
- I think the rainbow skein could be any variegated colorway as long as you have significant color changes in quick succession (less than 18”). If you are going to switch yarns make sure to match the yarn weight to give you the same gauge on the ball band otherwise your hat may end up a weird size.
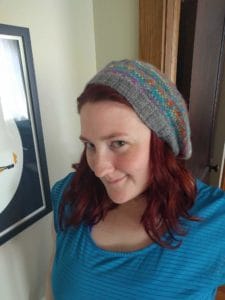
- Please whatever you do- Block the hat when you are done! I am not all about blocking unless it’s lace or berets. Berets look really weird and pointy until they have been blocked.
- You can use double points at the top if that is what you prefer.
- Please don’t sell my chart. Please do use my chart to make many wonderful hats. Especially for someone who really needs one.
- This pattern has been knitted all of 1 time. Please email the site or submit a comment to this post with questions. I’ll get back to you as fast as I can.
Materials
1 skein Madeline Tosh Sock in Great Grey Owl (Main Color)
395y/100g 28st = 4 in
1 skein Manos Del Uruguay Alegria in Locura Fluo (Contrast Color)
445y/100g 28st = 4 in
1 set of US #1 circs
1 set of US #2 circs
Stitch markers
Snacks ← Very important
Stitches
CO – cast on
M1 – make 1 – see: http://www.simple-knitting.com/how-to-make-1.html
Pattern
Ribbing
CO 144st in stretchy cast on method on the US #1 needles. Do at least 1” of ribbing in K2 P2. (More if your hair is really silky so there is more hat to hold onto.)
After ribbing is long enough, switch to larger needles and do one row *K3 M1* repeat until end of row (192 st). I added my stitch markers in this row where I put in 8 – one every 24 stitches to create 8 sections.
Colorwork
The next row will be the start of the colorwork chart (see the rainbow diamond beret chart – link to pdf below). The first row is all main color. The second row add in your contrast color. Make sure you are weaving in your floats so that you won’t snag them as you are wearing the hat in the future. The chart is repeated 8 times.
Decreases
After row 34 the decreasing for top of the hat begins. The decrease is at the end of each section. It is pass 2 stitches knitwise, k1, pass slip stitches over the k1. It will decrease each section by 2 stitches. You will do this every other row until you only have 16 stitches left. The k1 in the decrease is shown in the decrease column. This is the column that will create a star on the top of the hat. The last row you k2tog around (8st). Cut the yarn and pull the tail through the remaining 8st. Weave in ends.
Blocking
The last step is the most important! BLOCK IT! Tams do not look good until they have been blocked. I used a very large dinner plate. Get the finished hat wet and stretch it around the dinner plate. The ribbing should all be on one side of the plate in a little circle. I usually place a piece of crochet cotton around the circle of ribbing like a drawstring. I pull this tight and it keeps the ribbing from stretching out while stretching the rest of the hat out evenly.
 Fun Part
After it’s dry it’s ready to wear and most importantly it’s ready for its photo shoot!