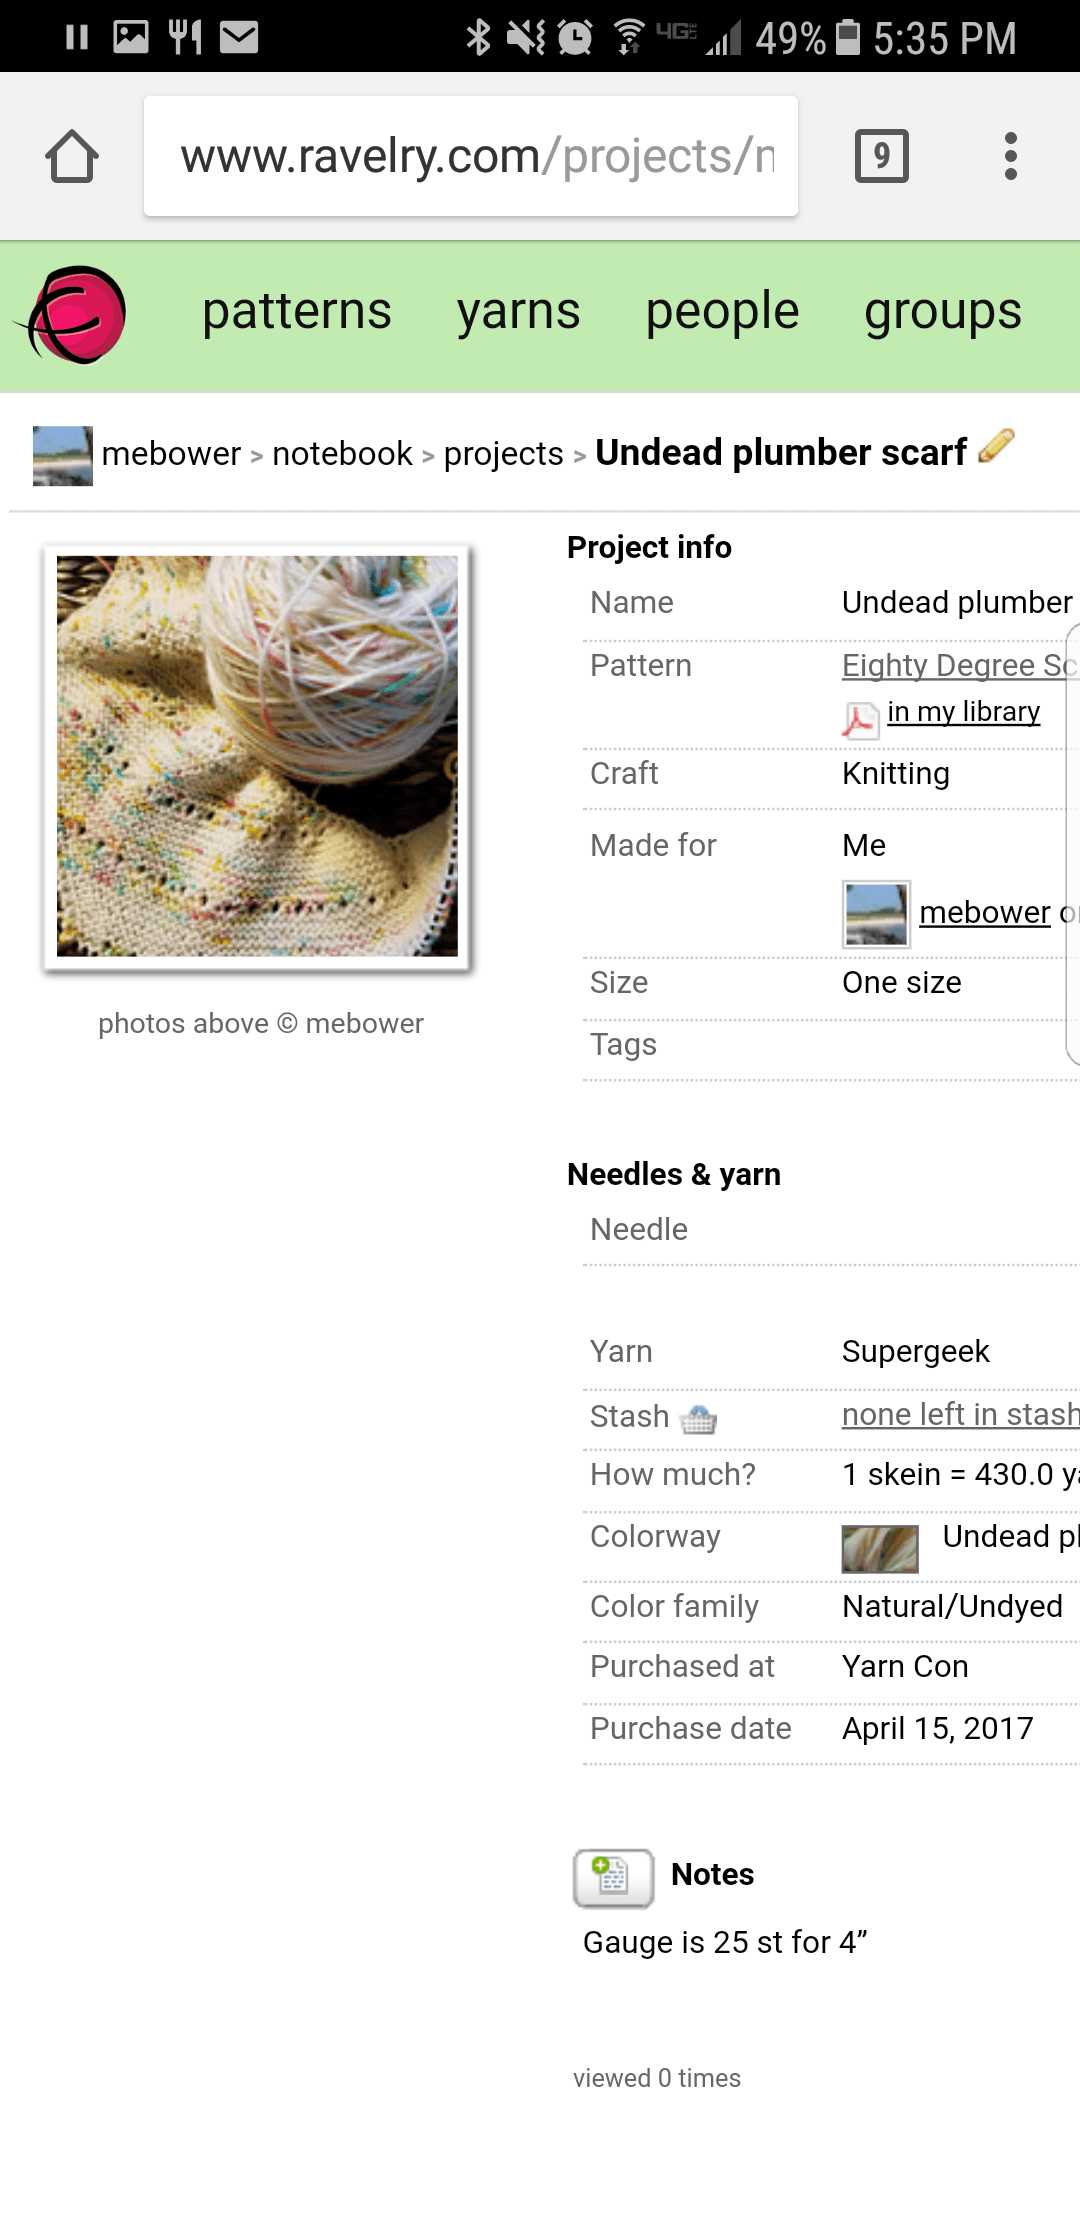
I’d rather knit than update my stash on Ravelry, but it’s the first step to adding a project on the site. Ravelry (www.ravelry.com) is a knitter/crocheter’s dream.
It lets you track your projects, so that you can look back on all of the great things you’ve made. As all knitters use the site and accumulate projects tied to particular patterns, it allows you to look at the projects that other knitters have made from patterns you’re thinking about making.
It’s amazing to see the creativity and talent of knitters who take a pattern and tweak it to make it their own. So let’s get going!
- Lay out the yarn you have but haven’t started using yet and take photos of them, grouping all like skeins together but different colors separately.
- Update your stash. After setting up an account on Ravelry, noodle around the site. The links from the menu in the upper left hand corner include some of your individual spaces for your favorites, your stash, your projects etc. You can add some of the yarn in your stash to your stash section – it already has a lot of commercial yarns loaded to make it easier to add. If you have an unusual yarn, not to worry, you can still add it.
- Add a pattern to your queue. Review patterns and when you find something you want to make, add it to your favorites or to your queue.
- When you’re ready, click the cast on button on a pattern in your queue and add the yarn from your stash when you cast on in real life. Now this project is in your project section instead of your queue.
- Take a photo of your finished project, upload it to your project, and give it a finish date.
Now all you have to do is knit it!

